How to trace a sewing pattern? It’s all about making those killer outfits, girl! Sewing your own clothes is so much more than just following a pattern. It’s about expressing yourself and creating something totally unique. Tracing is the first step, and it’s easier than you think. You’ll learn how to read those patterns, get the right tools, and even adjust them to fit your bod perfectly.
Get ready to unleash your inner fashionista!
From understanding the different types of sewing patterns to choosing the right one for your project, this guide will take you through the whole process, step-by-step. You’ll be tracing like a pro in no time!
Understanding Sewing Patterns
Sewing patterns are your roadmap to creating amazing garments. They provide detailed instructions and templates to guide you through the process, from choosing the right fabric to finishing the final seams. Understanding how to read and use sewing patterns is essential for any aspiring seamstress.
Types of Sewing Patterns
Sewing patterns come in various forms, each catering to different needs and preferences.
- Commercial Patterns: These are readily available at craft stores and online retailers. They offer a wide range of styles, sizes, and skill levels, making them a great starting point for beginners. Popular brands include McCall’s, Simplicity, Butterick, and Vogue.
- Independent Patterns: Designed by individual designers, these patterns often feature unique and contemporary styles. They can be found online through independent pattern companies or through designer websites.
- Vintage Patterns: These patterns offer a glimpse into past fashion trends. They can be found at vintage clothing stores, online marketplaces, or even at flea markets. Vintage patterns are often considered collector’s items, and they can provide inspiration for modern projects.
Common Elements of Sewing Patterns
Understanding the different elements of a sewing pattern is crucial for successful sewing.
- Pattern Pieces: These are the individual templates that you will cut out from fabric. They represent the different parts of the garment, such as the bodice, sleeves, and skirt.
- Instructions: This section provides step-by-step guidance on how to assemble the garment. It includes details on cutting, sewing, and finishing techniques.
- Sizing Chart: This chart helps you determine the correct size for your pattern based on your body measurements. It’s important to take accurate measurements before selecting a size.
- Fabric Recommendations: This section suggests appropriate fabrics for the pattern, considering factors like drape, weight, and suitability for the design.
- Notions List: This list includes all the necessary supplies, such as thread, buttons, zippers, and interfacing, that you will need to complete the project.
Choosing the Right Sewing Pattern
Selecting the right sewing pattern for your project is essential for a successful outcome.
- Skill Level: Most patterns indicate the difficulty level, ranging from beginner to advanced. Choose a pattern that aligns with your sewing experience to avoid frustration.
- Style and Fit: Consider your personal style and the desired fit for the garment. Look for patterns that flatter your body shape and match your taste.
- Fabric Choice: Select a pattern that allows for your preferred fabric choice. Check the fabric recommendations to ensure compatibility.
- Size and Measurements: Always refer to the sizing chart and take accurate measurements to ensure a proper fit. It’s also helpful to compare your measurements with the finished garment measurements provided on the pattern envelope.
- Pattern Reviews: Reading online reviews from other sewers can provide valuable insights into the pattern’s ease of construction, fit, and overall satisfaction. This can help you make an informed decision.
Tracing a Sewing Pattern: How To Trace A Sewing Pattern

Tracing a sewing pattern is a crucial step in the garment-making process, as it allows you to create a personalized pattern based on your measurements and desired alterations. This involves transferring the pattern onto a material that can be easily cut and manipulated.
Materials Needed for Tracing a Sewing Pattern
Before diving into the tracing process, you’ll need to gather a few essential materials. These tools will ensure a smooth and accurate transfer of your pattern:
- Tracing paper: This translucent paper is specifically designed for pattern tracing. It comes in various sizes and weights, allowing you to choose the best option for your needs.
- Pattern weights: These weights, usually made of metal or plastic, are used to hold the pattern pieces in place while you trace. They prevent the pattern from shifting and ensure accurate tracing.
- Ruler: A ruler is essential for measuring and marking adjustments to the pattern. Choose a ruler with clear markings and a comfortable grip.
- Pencil: A sharp pencil is ideal for tracing the pattern lines. Avoid using pens, as they can bleed through the tracing paper.
- Scissors: A pair of sharp scissors is needed to cut out the traced pattern pieces. Use fabric shears for best results.
- Seam ripper: A seam ripper is useful for correcting any mistakes made during tracing. It allows you to carefully remove unwanted lines.
Steps for Tracing a Sewing Pattern, How to trace a sewing pattern
Now that you have your materials ready, follow these steps to accurately trace your sewing pattern:
- Lay out the pattern pieces: Spread out the pattern pieces on a flat surface, ensuring they are smooth and free from wrinkles. This step ensures a clear and accurate tracing.
- Secure the pattern: Place the pattern weights on top of the pattern pieces to keep them securely in place. This prevents the pattern from shifting during the tracing process.
- Place the tracing paper: Position the tracing paper over the pattern piece you want to trace. Ensure the paper is aligned with the pattern edges. It’s crucial to align the tracing paper with the pattern edges to ensure accurate tracing.
- Trace the pattern lines: Using your pencil, carefully trace the pattern lines onto the tracing paper. Apply light pressure to avoid tearing the paper. This step requires patience and precision to ensure a clear and accurate representation of the pattern.
- Mark pattern pieces: After tracing the pattern lines, mark the pattern pieces according to the instructions provided with the pattern. This may include marking the grain line, dart points, and other important details. These markings help you understand the pattern’s layout and guide you during the sewing process.
- Adjust for size: If you need to adjust the pattern for your size, use your ruler to make the necessary alterations. Remember to adjust both sides of the pattern piece symmetrically. These adjustments are crucial for creating a garment that fits perfectly.
- Cut out the traced pattern pieces: Once you have traced and marked the pattern pieces, use your scissors to carefully cut them out. Be sure to cut along the traced lines to ensure a precise fit. This step requires precision and care to avoid any mistakes.
Methods of Tracing Sewing Patterns
There are several methods for tracing sewing patterns, each with its advantages and disadvantages:
| Method | Description | Advantages | Disadvantages |
|---|---|---|---|
| Light Table | This method involves placing the pattern piece on a light table and tracing it onto tracing paper placed on top. | Provides clear visibility of the pattern lines, allowing for precise tracing. | Requires a light table, which can be an additional investment. |
| Tracing with a Pencil | This method involves tracing the pattern lines directly onto the tracing paper using a pencil. | Simple and affordable method, requiring only basic materials. | Can be challenging to see the pattern lines clearly, especially if the pattern is complex. |
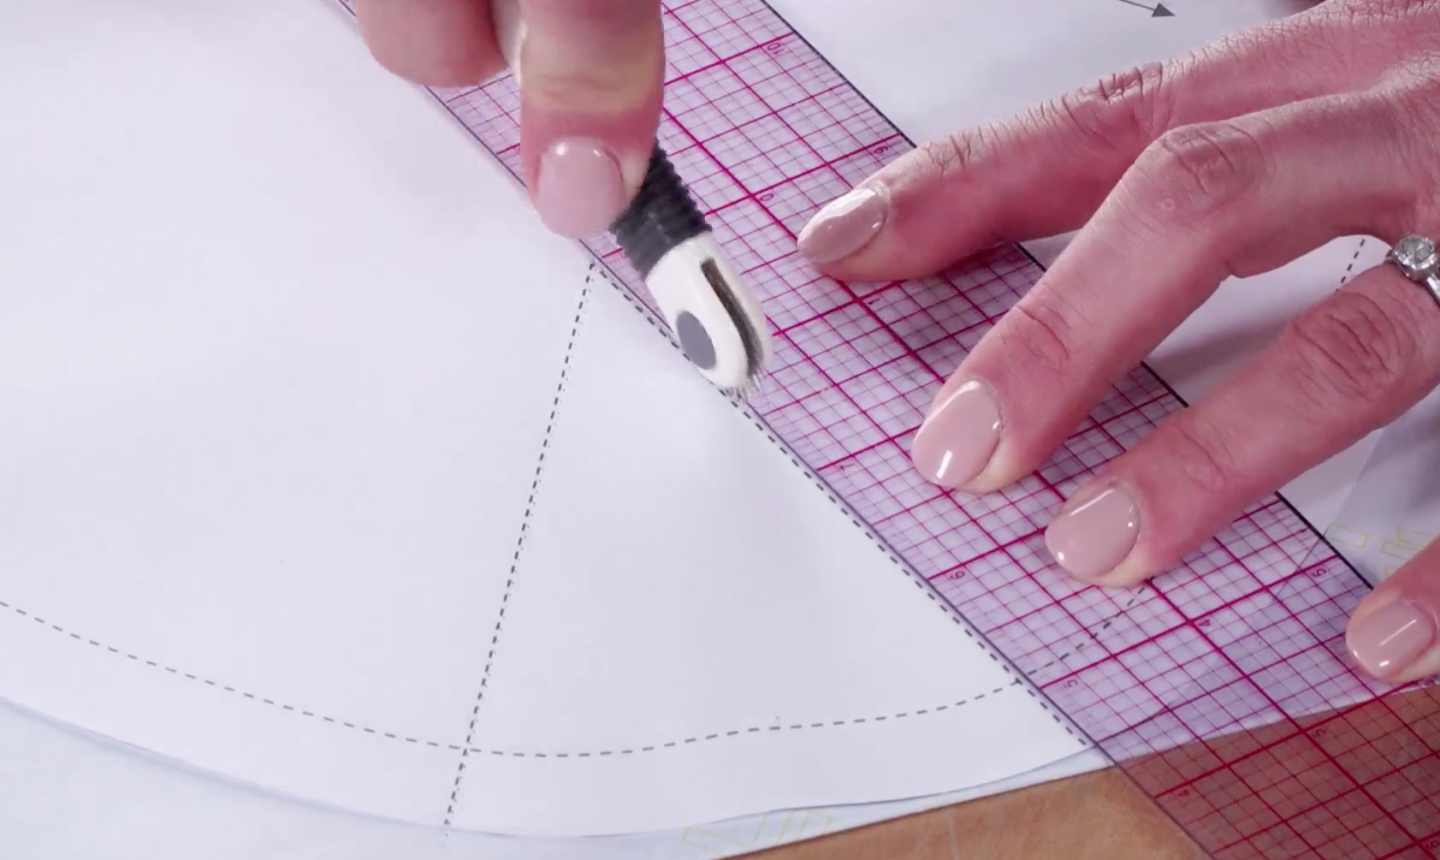
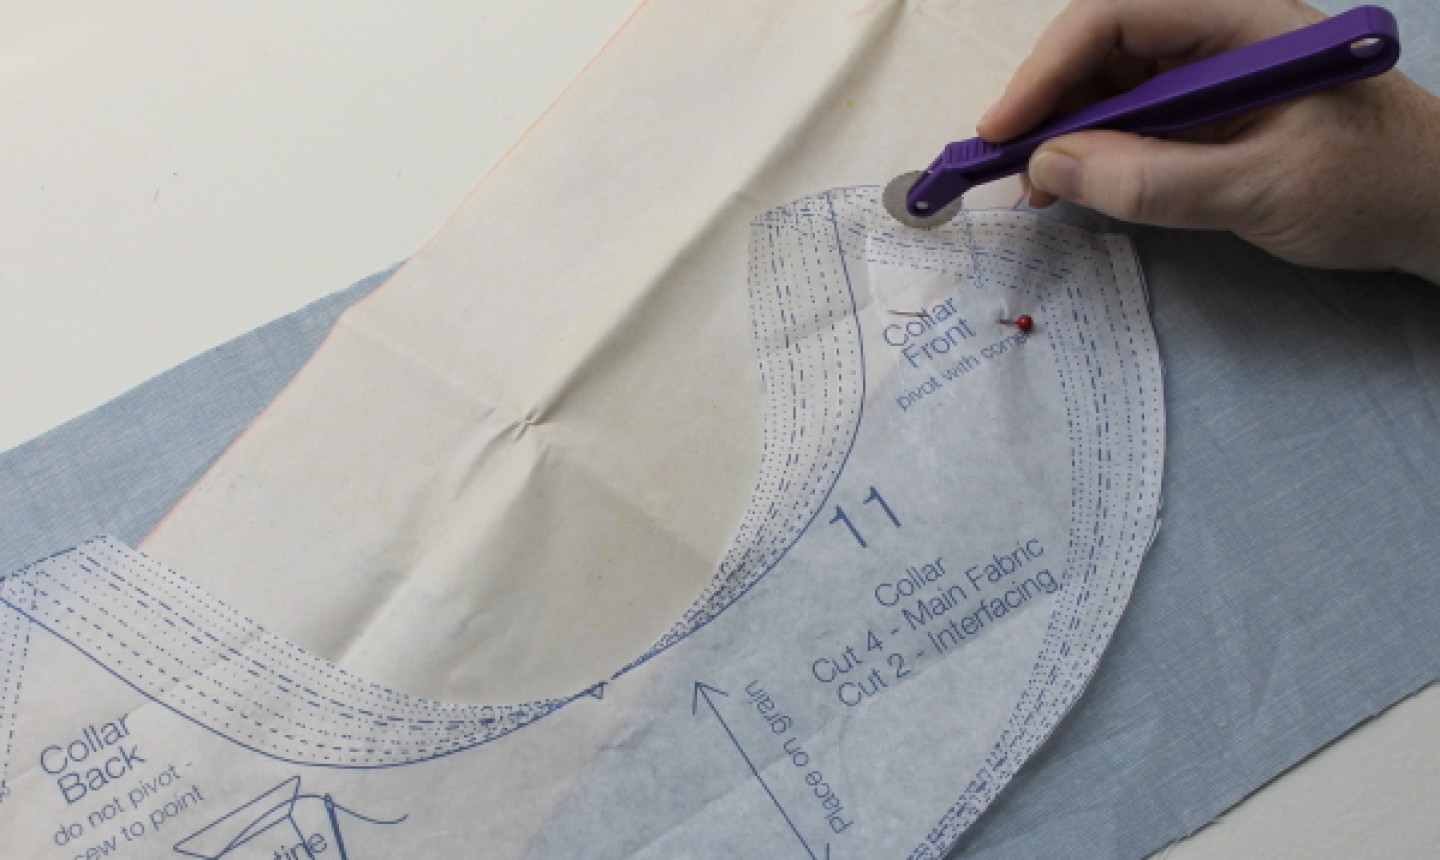
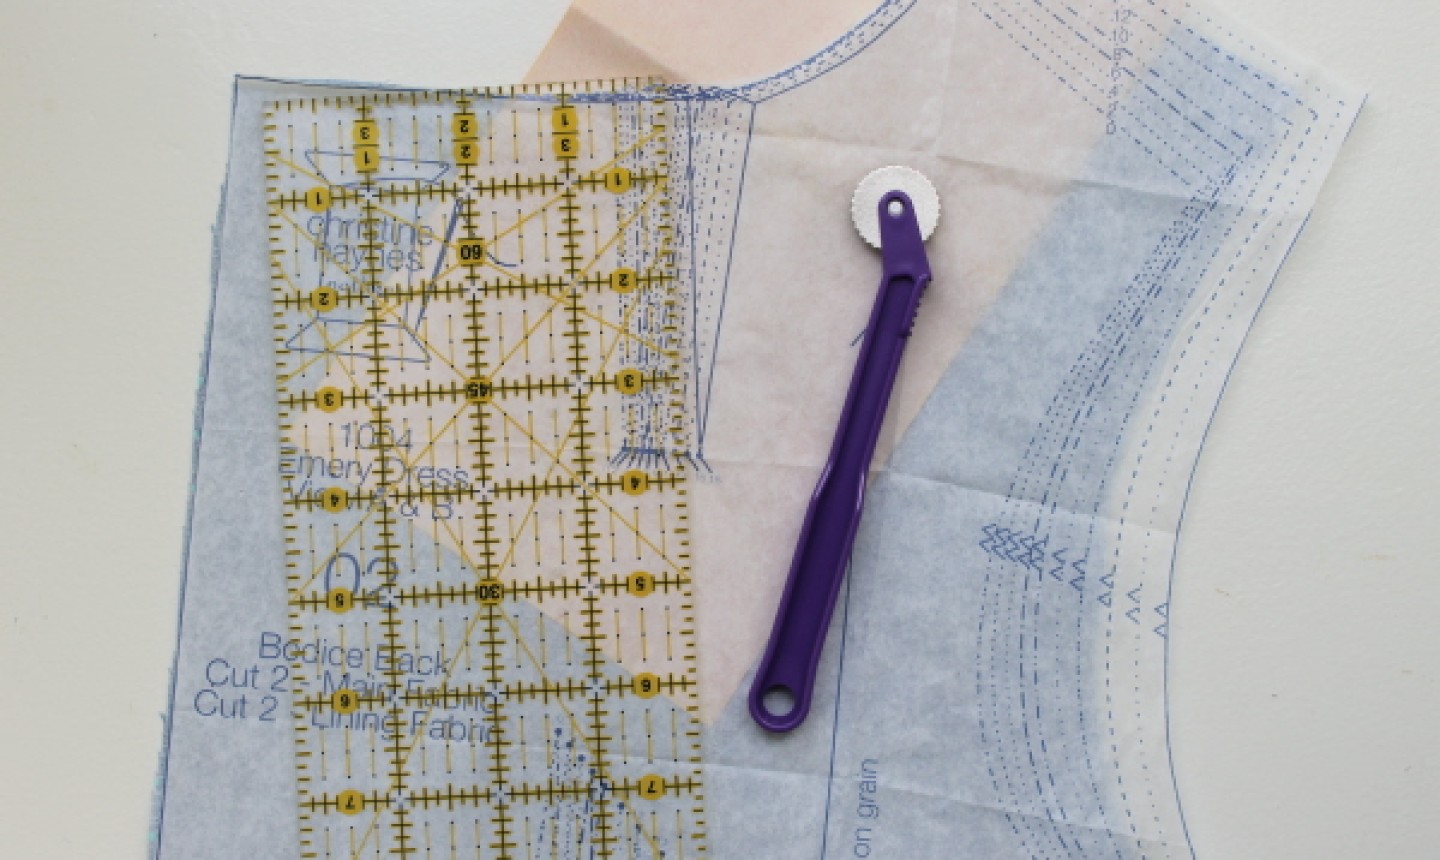
| Tracing Wheel | This method involves using a tracing wheel to transfer the pattern lines onto the tracing paper. | Creates crisp and accurate lines, making it ideal for intricate patterns. | Requires a tracing wheel, which can be an additional investment. |
Cutting and Assembling Pattern Pieces

Now that you’ve traced your pattern pieces, it’s time to bring your garment to life! This stage involves carefully cutting your fabric based on your traced pattern pieces and then assembling them into the final garment.
Cutting Fabric
Cutting fabric accurately is crucial for a well-fitting garment. Here’s a step-by-step guide to ensure precision:
- Laying Out Fabric: Before cutting, ensure your fabric is smooth and free of wrinkles. Lay it out on a flat surface, preferably a cutting table or a large, sturdy floor area. If using a patterned fabric, ensure the pattern is aligned correctly for a consistent look.
- Pinning Pattern Pieces: Pin the pattern pieces to the fabric using straight pins. Start with the center of the pattern piece and work your way out, pinning every few inches to prevent the pattern from shifting. Make sure the pattern pieces are aligned with the grain line (the lengthwise direction of the fabric) indicated on the pattern.
- Cutting with Shears: Use sharp fabric shears for precise cuts. Position the shears perpendicular to the fabric and cut along the pattern lines with a smooth, confident motion. Avoid wiggling the shears as you cut, as this can cause uneven edges.
- Using a Rotary Cutter: A rotary cutter is a great tool for cutting multiple layers of fabric at once. Use a self-healing cutting mat to protect your work surface. Place the pattern piece on the mat and cut along the pattern lines with a sharp rotary cutter. Be sure to hold the rotary cutter at a 45-degree angle to the fabric for clean cuts.
Fabric Marking Tools
Marking fabric before cutting allows you to transfer the pattern markings to the fabric, ensuring accurate seam allowances and other design elements. Here are some popular tools:
- Tailor’s Chalk: Tailor’s chalk is a traditional fabric marking tool. It comes in various colors to contrast with different fabric colors. It’s easily removed from most fabrics with a damp cloth. Use a light touch to avoid leaving thick lines on the fabric.
- Fabric Pens: Fabric pens come in various colors and are great for marking on both light and dark fabrics. Choose a pen that’s specifically designed for fabric, as some pens can bleed or leave permanent marks. Test the pen on a scrap of fabric first to ensure it washes out easily.
- Tailor’s Tacks: Tailor’s tacks are small, colorful pins used to mark specific points on the fabric. They are ideal for marking buttonholes, darts, and other intricate details. They are easily removed and leave no holes in the fabric.
Assembling Pattern Pieces
Once you’ve cut out your pattern pieces, it’s time to assemble them into a garment. Here’s a basic guide:
- Stitching Seams: Seams are the lines where two pieces of fabric are joined together. Use a sewing machine or hand-stitch seams depending on the garment’s design and your preference. Always sew with a seam allowance, which is the space between the stitching line and the edge of the fabric. A standard seam allowance is 5/8 inch, but it can vary depending on the pattern instructions.
- Finishing Edges: After stitching seams, it’s essential to finish the edges to prevent fraying. There are various techniques for finishing edges, including serging, overcasting, zig-zag stitching, and binding. Choose a technique that complements the fabric and the garment’s style.
Troubleshooting and Tips

Tracing sewing patterns is a crucial step in garment construction, and it’s essential to ensure accuracy and precision for a successful outcome. While the process seems straightforward, common challenges can arise, leading to frustration and inaccurate results. This section will explore common problems encountered while tracing sewing patterns and provide practical solutions to overcome them. Additionally, we’ll delve into tips for creating clean and accurate tracings, along with techniques for making adjustments to a sewing pattern to achieve a perfect fit.
Common Tracing Problems and Solutions
Tracing sewing patterns can present certain challenges, but understanding common issues and their solutions can significantly improve your experience. Here are some common problems and solutions:
- Pattern slippage: This occurs when the pattern paper shifts or moves during tracing, resulting in inaccurate measurements. To prevent slippage, use a non-slip surface like a cutting mat or a piece of foam board. Secure the pattern with weights or clips to keep it in place.
- Uneven tracing lines: Using a dull or worn-out tracing wheel can lead to uneven or broken lines. Ensure your tracing wheel is sharp and has a smooth rolling surface.
- Distorted tracing lines: Using too much pressure while tracing can distort the pattern lines. Apply light and even pressure to ensure accurate tracing.
- Torn pattern paper: This can occur when using thin or fragile pattern paper. Opt for sturdy pattern paper designed for tracing and avoid using too much pressure when tracing.
- Difficulty tracing curves: Tracing curved lines can be challenging. Use a flexible ruler or a French curve to guide the tracing wheel, ensuring smooth and accurate curves.
Tips for Clean and Accurate Tracing
Creating a clean and accurate tracing is essential for achieving a successful sewing project. Here are some tips to help you:
- Use a dedicated tracing surface: A smooth, flat surface like a cutting mat or a table covered with a non-slip material will prevent pattern slippage and ensure accurate tracing.
- Utilize a sharp tracing wheel: A sharp tracing wheel creates clean and defined lines, making it easier to cut and assemble pattern pieces.
- Apply light and even pressure: Excessive pressure can distort the pattern lines and create uneven tracing. Apply light and even pressure for precise results.
- Use a tracing tool: A tracing tool, such as a tracing wheel, tracing paper, or a light box, can make the process easier and more accurate.
- Mark seam allowances: Always mark seam allowances on your traced pattern pieces to ensure accurate cutting and assembly.
Adjusting Sewing Patterns for a Perfect Fit
Making adjustments to a sewing pattern is a common practice to achieve a perfect fit for your body shape and size.
- Understanding pattern alterations: Before making adjustments, understand the different types of alterations, such as lengthening, shortening, widening, or narrowing.
- Taking accurate measurements: Accurate measurements are crucial for making effective alterations. Measure yourself carefully and use a measuring tape that is flexible and accurate.
- Using a muslin mock-up: A muslin mock-up is a valuable tool for testing pattern adjustments before cutting into your final fabric.
- Common pattern adjustments:
- Bust adjustments: Adjusting the bust area is common for a perfect fit.
- Waist adjustments: Altering the waistline is necessary for a flattering fit.
- Hip adjustments: Adjusting the hip area is important for achieving a comfortable fit.
- Length adjustments: Adjusting the length of a garment is essential for a flattering and comfortable fit.
Tracing a sewing pattern is like opening up a whole new world of creativity. You’ll be able to customize your outfits, create unique pieces, and even try out new styles. So grab your tracing paper, your favorite fabric, and get ready to sew! Remember, girl, the sky’s the limit when it comes to fashion. Just let your creativity flow!
Answers to Common Questions
What if my pattern is too small?
Don’t worry, girl! You can totally adjust your pattern to fit your body. Just add some extra length or width to the pieces you need. There are lots of tutorials online that can help you out.
What kind of tracing paper is best?
You can use any kind of tracing paper, but I prefer the kind that’s a bit thicker and more durable. It makes it easier to work with and less likely to tear.
What are some good tools for tracing?
You’ll need a tracing wheel, a ruler, and some pattern weights. A light table is also super helpful, but not totally necessary.
How do I know if I’m using the right size pattern?
Check the sizing chart on the pattern envelope. It will tell you what size to use based on your measurements. And remember, it’s always better to go up a size if you’re unsure.


