
Can you do stamped concrete over existing concrete? Totally! But it’s not as simple as slapping some new concrete on top. This project requires careful planning and execution to ensure a durable and aesthetically pleasing result. We’ll walk you through the process, from prepping the old concrete to selecting the right materials and applying the overlay, covering everything from choosing the perfect color to mastering those stamping techniques for a killer finish.
Get ready to transform your drab concrete into a stunning masterpiece!
Laying stamped concrete over existing concrete is a popular choice for homeowners looking to update their patios, driveways, or walkways without the hassle of full demolition. However, success depends on proper surface preparation, material selection, and application techniques. This guide will cover each step in detail, helping you achieve a professional-looking result.
Surface Preparation

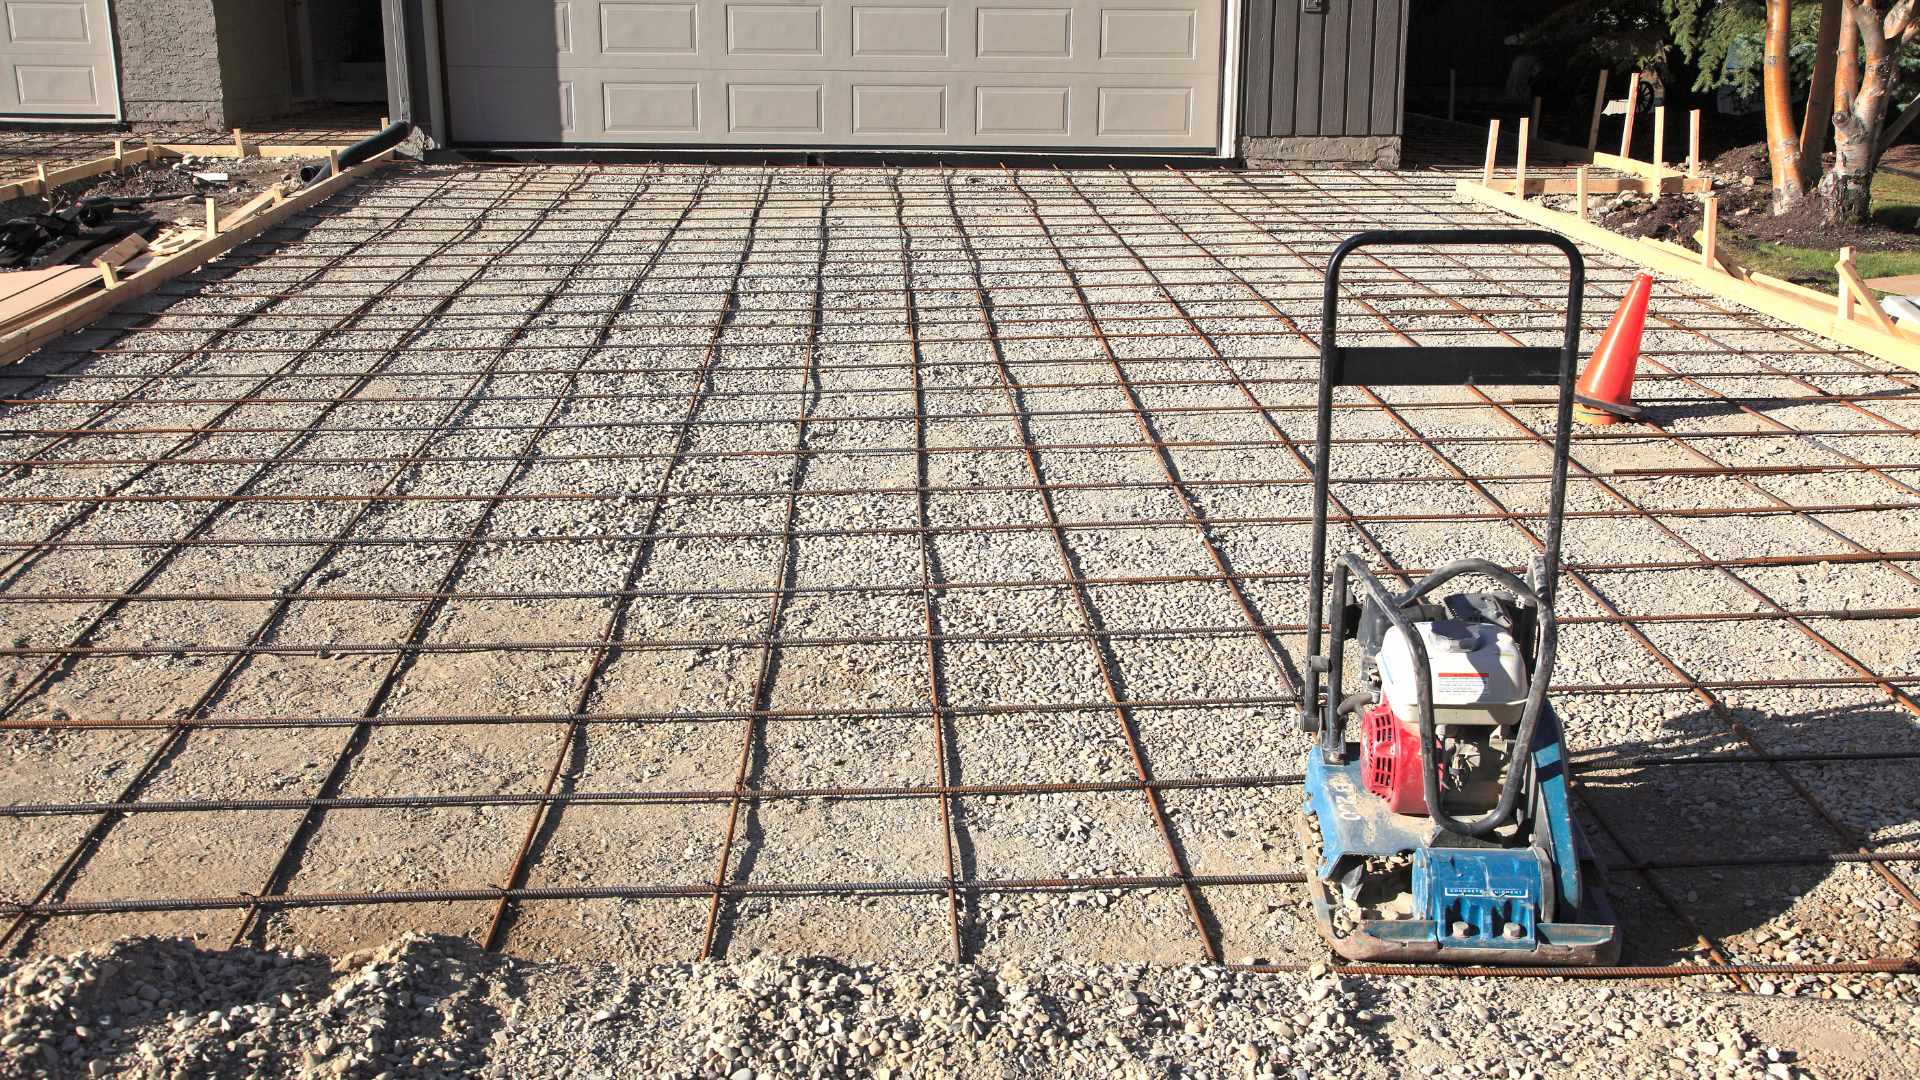
Preparing the existing concrete surface is crucial for a successful stamped concrete overlay. A poorly prepared surface will lead to adhesion problems, cracking, and ultimately, a failed project. This process involves several key steps to ensure a strong and long-lasting final product. Think of it as laying a solid foundation for your new concrete surface.
Cleaning the Existing Concrete, Can you do stamped concrete over existing concrete
Thorough cleaning is the first and most important step. Remove all loose debris, dirt, dust, oil stains, and any other contaminants that could prevent proper adhesion. Power washing is often the most effective method, using a pressure washer with a nozzle that provides a wide fan pattern to avoid damaging the existing concrete. After power washing, allow the surface to dry completely before proceeding.
For stubborn stains, a concrete cleaner might be necessary, but always follow the manufacturer’s instructions carefully. Remember, a clean surface is the foundation for a strong bond.
Repairing Cracks and Damage
Inspect the existing concrete carefully for any cracks, holes, or spalling. These imperfections need to be repaired before applying the overlay. Small cracks can be filled with a high-quality concrete patching compound, ensuring that it is properly compacted and level with the surrounding surface. Larger cracks or holes might require more extensive repairs, potentially involving the removal of damaged concrete and the installation of new concrete patches.
Properly filling these imperfections prevents them from propagating through the overlay and causing future problems.
Surface Profiling for Optimal Adhesion
Creating a profile on the existing concrete surface significantly improves adhesion. This can be achieved through several methods, including grinding or scarifying the surface. Grinding uses a diamond grinder to create a textured surface, while scarifying uses specialized tools to remove a thin layer of the existing concrete, exposing fresh aggregate. This process increases the surface area for the overlay to bond to, resulting in a much stronger and more durable final product.
The goal is to achieve a surface that is slightly rough but not excessively pitted or uneven.
Tools and Materials for Surface Preparation
The following table Artikels the essential tools and materials needed for surface preparation. Having these readily available will streamline the process and ensure a smooth workflow.
| Material | Quantity | Purpose | Supplier (optional) |
|---|---|---|---|
| Pressure Washer | 1 | Cleaning the existing concrete surface | Local Rental Store |
| Concrete Cleaner | As needed | Removing stubborn stains | Home Improvement Store |
| Concrete Patching Compound | As needed | Repairing cracks and holes | Home Improvement Store |
| Diamond Grinder or Scarifier | 1 | Creating a profiled surface | Equipment Rental Store |
| Putty Knives and Trowels | Several | Applying patching compound and smoothing surfaces | Home Improvement Store |
| Brooms and Dustpans | Several | Cleaning up debris | Home Improvement Store |
| Safety Glasses and Gloves | As needed | Protecting the worker | Home Improvement Store |
Material Selection: Can You Do Stamped Concrete Over Existing Concrete
Choosing the right materials for your stamped concrete overlay is crucial for a successful and long-lasting project. The selection process involves considering several factors, from the type of overlay itself to the bonding agent and release agent used. Making informed decisions in this stage will significantly impact the final aesthetic appeal and durability of your stamped concrete.
Stamped Concrete Overlay Types
Several types of stamped concrete overlays are available, each with its own strengths and weaknesses. The most common include thin overlays (typically ¼” to ½”), which are ideal for minor repairs or cosmetic upgrades, and thicker overlays (½” to 1”), better suited for significant surface imperfections or where greater durability is needed. Polymer-modified overlays offer enhanced strength and flexibility, making them a popular choice for high-traffic areas.
Finally, colored overlays allow for a wide range of aesthetic possibilities, offering a broader palette than simply staining the concrete. The choice depends largely on the existing concrete condition, budget, and desired aesthetic outcome. For instance, a thin overlay might suffice for a relatively smooth, minorly damaged patio, while a thicker, polymer-modified overlay would be more suitable for a heavily cracked driveway.
Overlay Thickness and Color Selection
Overlay thickness is directly related to the condition of the existing concrete and the desired outcome. Thinner overlays are cost-effective but may not adequately cover significant imperfections. Thicker overlays provide better crack suppression and improved durability but increase material and labor costs. For example, a ¼-inch overlay might be sufficient for leveling minor surface irregularities, while a ½-inch overlay might be needed to cover significant cracks or unevenness.
Color selection depends on personal preference and the surrounding environment. Consider the existing architecture, landscaping, and overall aesthetic goals. A darker color might absorb more heat, making it less suitable for hot climates, while lighter colors might reflect more heat, making them preferable in such areas. Samples should always be viewed under various lighting conditions before final selection.
Bonding Agent Properties and Suitability
A strong bond between the overlay and the existing concrete is essential for the longevity of the project. Various bonding agents are available, including epoxy-based, latex-modified, and cementitious bonding agents. Epoxy-based agents provide excellent adhesion, even on damp surfaces, but are typically more expensive. Latex-modified agents offer good adhesion and flexibility, making them suitable for various substrates.
Cementitious bonding agents are a more economical option, but their performance can be affected by moisture content. The choice of bonding agent depends on factors such as the existing concrete’s condition (dampness, porosity), the type of overlay, and budget constraints. For example, an epoxy-based bonding agent might be preferred for a damp basement floor, while a latex-modified agent could suffice for a dry patio.
Release Agent Properties: Advantages and Disadvantages
Release agents are crucial for preventing the stamped texture from sticking to the forms. Several types exist, each with its own set of advantages and disadvantages.
- Powdered Release Agents: Advantages: Relatively inexpensive, easy to apply. Disadvantages: Can be messy, may leave a residue, may not provide uniform release.
- Liquid Release Agents: Advantages: Easier application for large areas, provides more uniform release. Disadvantages: Can be more expensive, may require more careful application to avoid over-application.
- Spray-on Release Agents: Advantages: Efficient application, even coverage. Disadvantages: Requires specialized equipment, can be more expensive.
The best choice depends on the project’s scale, budget, and the applicator’s experience. For instance, a powdered release agent might be suitable for a small DIY project, while a spray-on release agent might be preferred for a large commercial project.
Application Process

Applying a stamped concrete overlay requires careful planning and execution. Success hinges on a methodical approach, ensuring a durable and aesthetically pleasing finish. Proper mixing, pouring, and stamping techniques are crucial for preventing defects and achieving the desired design. Let’s break down the process step-by-step.
Stamped Concrete Overlay Application Steps
- Step 1: Prepare the Release Agent. Mix the release agent according to the manufacturer’s instructions. This crucial step prevents the concrete from sticking to the stamps. Image description: A bucket with the release agent mixed to the correct consistency, showing a uniform color and texture, free from clumps.
- Step 2: Mix the Concrete Overlay. Combine the concrete overlay mix with water, following the manufacturer’s recommendations. Ensure a consistent, workable mixture free of lumps. Achieving the right consistency is vital for proper application and stamping. Image description: A close-up shot of the concrete mix being mixed in a wheelbarrow, showing a smooth, even consistency without dry spots or excess water.
- Step 3: Pour and Level the Concrete. Pour the concrete mix onto the prepared surface, working in sections to maintain a consistent thickness. Use a screed to level the surface, ensuring a smooth, even base for stamping. Maintain a consistent thickness to prevent uneven wear and tear. Image description: The concrete being poured onto a prepared surface, followed by a worker using a screed to level the surface, creating a smooth, even layer of concrete.
- Step 4: Apply the Release Agent. Using a brush or roller, apply a thin, even coat of release agent to the leveled concrete surface. This prevents the stamps from sticking and ensures clean, crisp impressions. Avoid pooling or excessive application. Image description: A worker carefully applying the release agent to the leveled concrete surface using a brush, ensuring an even coating without any streaks or excessive build-up.
- Step 5: Stamp the Concrete. Begin stamping immediately after applying the release agent, using firm, even pressure to create consistent impressions. Work in sections, ensuring each stamp is placed correctly and tightly against the previous one. Follow the manufacturer’s recommendations for stamping techniques and timing. Image description: A worker using a stamping tool to create a specific pattern on the freshly poured concrete, demonstrating proper technique and pressure.
The image shows clear, consistent impressions.
- Step 6: Texture and Detailing. After stamping, use texturing tools to enhance the surface detail and create a more realistic appearance. This may include adding joints or cracks to mimic natural stone. Be sure to work quickly before the concrete sets. Image description: Close-up view of a worker using various texturing tools to add details and accents to the stamped concrete surface, creating a realistic, natural look.
The image showcases the added texture and depth.
- Step 7: Clean and Finish. Once the concrete has begun to set, carefully remove any excess release agent and clean the stamps. Allow the concrete to cure according to the manufacturer’s instructions. Avoid disturbing the surface during the curing process. Image description: The stamped concrete surface after cleaning, showing the finished pattern and texture. The image shows a smooth, even finish free of debris or imperfections.
Preventing Air Pockets and Achieving Uniform Finish
Proper mixing and pouring techniques are essential to prevent air pockets and achieve a uniform surface finish. Over-mixing can incorporate too much air, while insufficient mixing leads to an inconsistent texture. Using a vibrator to consolidate the concrete can help remove trapped air, but this must be done carefully to avoid damaging the surface. A consistent pouring technique and careful leveling prevent uneven thickness and subsequent problems.
Using a bull float to smooth the surface after screeding helps create an even base for stamping.
Using Stamping Tools
A variety of stamping tools are available, each creating different patterns and textures. From simple brick patterns to complex stone designs, the possibilities are numerous. Proper technique is crucial for achieving consistent results. Firm, even pressure is key, and stamps should be placed tightly together to avoid gaps or misalignment. Experimentation and practice will help develop the skills necessary to create a variety of impressive designs.
Many manufacturers provide detailed instructions and videos demonstrating proper stamping techniques.
Curing and Finishing
Proper curing and finishing are crucial steps in achieving a durable and aesthetically pleasing stamped concrete overlay. Neglecting these steps can lead to cracking, discoloration, and premature deterioration, undermining the entire project. Think of it like baking a cake – you need the right temperature and time for it to set properly. Similarly, stamped concrete needs specific conditions to cure and develop its full strength and beauty.
Curing Methods for Stamped Concrete Overlays
The curing process involves maintaining the moisture content of the concrete for a sufficient period to allow for proper hydration and strength development. This prevents rapid drying, which can cause surface cracking and weakening. Several methods can be employed, including the use of curing compounds, plastic sheeting, or water curing. Curing compounds are sprayed onto the surface, forming a membrane that retains moisture.
Plastic sheeting provides a physical barrier against evaporation. Water curing involves periodically wetting the surface to maintain moisture. The choice of method depends on factors such as weather conditions and project requirements. For example, in hot, dry climates, water curing might be necessary to prevent rapid evaporation, while in cooler, humid conditions, a curing compound might suffice.
The manufacturer’s instructions for the specific concrete mix should always be followed meticulously.
Sealing and Protecting the Finished Surface
Sealing is essential to protect the stamped concrete overlay from the elements and wear and tear. A high-quality sealer creates a protective barrier against UV radiation, chemicals, and abrasion, enhancing the longevity and appearance of the finished surface. Proper sealing also helps prevent staining and makes cleaning easier. Without sealing, the concrete is susceptible to damage from things like de-icing salts in winter or spilled oil.
A well-sealed surface will resist these types of damage far better.
Types of Sealers and Their Properties
Various sealers are available, each with unique properties. The choice of sealer depends on the specific requirements of the project, considering factors such as the desired level of durability, UV resistance, and ease of application. Common types include acrylic, polyurethane, and epoxy sealers.
| Sealer Type | Durability | UV Resistance | Ease of Application | Other Properties |
|---|---|---|---|---|
| Acrylic | Moderate | Moderate | Easy | Water-based, breathable, relatively inexpensive |
| Polyurethane | High | High | Moderate | Durable, excellent UV protection, resists chemicals and abrasion, more expensive |
| Epoxy | Very High | High | Difficult | Extremely durable, excellent chemical resistance, requires specialized application techniques, most expensive |
Potential Challenges and Solutions
Stamped concrete overlays, while offering a beautiful and durable surface, present unique challenges when applied over existing concrete. Success hinges on careful preparation, material selection, and meticulous application. Ignoring potential problems can lead to costly repairs or even complete failure of the overlay. This section will explore common issues, preventative measures, and effective troubleshooting techniques.
The biggest hurdles in applying stamped concrete overlays often stem from the existing concrete substrate. Its condition—including cracks, unevenness, and the presence of contaminants—significantly impacts the longevity and appearance of the new overlay. Understanding these challenges and employing appropriate solutions is crucial for a successful project.
Cracking in the Overlay
Cracking can occur due to several factors, including movement in the existing slab, insufficient flexibility in the overlay material, or improper curing. Preventing cracking requires addressing these underlying causes. For instance, ensuring the existing concrete is sound and free of significant cracks is paramount. If cracks are present, they should be repaired using appropriate crack fillers before applying the overlay.
Selecting a flexible overlay mix and using control joints in the new concrete can also help accommodate movement and prevent cracking. Finally, proper curing is essential to allow the concrete to gain sufficient strength and reduce the likelihood of cracking.
Delamination of the Overlay
Delamination, or the separation of the overlay from the existing concrete, is a serious problem that can render the entire project unusable. This typically happens when there’s poor adhesion between the two layers. Preventing delamination requires thorough cleaning of the existing concrete surface to remove dust, debris, and any curing compounds that could impede bonding. The use of a bonding agent specifically designed for concrete-to-concrete applications is crucial to ensure strong adhesion.
Additionally, proper preparation of the existing surface, including etching or grinding to create a better mechanical bond, can significantly reduce the risk of delamination.
Uneven Coloring and Texture
Achieving a consistent color and texture across the entire stamped concrete overlay is challenging. Variations can arise from inconsistent application of the color hardener, improper stamping techniques, or variations in the existing concrete’s absorbency. To prevent uneven coloring, it’s vital to use consistent application techniques and ensure the color hardener is evenly distributed. Thorough mixing of the concrete and color hardener is essential.
The use of a consistent stamping pressure and technique helps maintain uniformity. Pre-wetting the existing concrete can help mitigate absorbency variations and promote more even color penetration.
Troubleshooting Examples
Addressing problems during the application process requires quick thinking and practical solutions. Here are some examples of successful problem-solving techniques:
- Problem: Significant cracking in the existing concrete slab. Solution: Before applying the overlay, the cracks were repaired using a flexible epoxy crack filler. Control joints were also incorporated into the design of the overlay to accommodate future movement and prevent further cracking.
- Problem: Delamination of a small section of the overlay. Solution: The delaminated area was carefully removed, the existing concrete surface was thoroughly cleaned and etched, a bonding agent was applied, and a new section of the overlay was carefully placed and finished.
- Problem: Uneven coloring in the finished overlay. Solution: The affected area was carefully ground down, and a new layer of color hardener was applied and stamped to match the surrounding area. The concrete mix was meticulously checked to ensure uniform color distribution in the next batch.
Revamping your concrete with a stamped overlay can totally transform your outdoor space. From prepping the old concrete to selecting materials and mastering the application process, it’s a rewarding DIY project (or a great one to hire out!). By following the steps Artikeld, you can achieve a stunning, durable finish that adds curb appeal and value to your property.
So ditch the boring concrete and get ready for a seriously stylish upgrade!
FAQ
How long does stamped concrete last?
With proper sealing and maintenance, stamped concrete overlays can last for 15-20 years or more.
Can I stamp concrete myself?
Yes, but it’s physically demanding and requires precision. Renting the necessary tools might be more cost-effective than buying them.
How much does stamped concrete cost?
The cost varies greatly depending on factors like surface area, materials, labor, and design complexity. Get multiple quotes for accurate pricing.
What if I have significant cracks in my existing concrete?
Major cracks need to be repaired before applying the overlay. Consult a concrete professional for larger repairs.


