How to create crochet patterns is a journey that transforms a simple craft into a creative expression. This guide will equip you with the knowledge and skills to design, write, and share your own crochet patterns, from understanding the basics to mastering the art of pattern writing.
We’ll explore the fundamental crochet stitches, decipher the language of crochet charts, and learn how to select the right tools for your projects. You’ll then delve into the process of designing patterns, incorporating color changes, and creating unique stitch combinations. Finally, we’ll discuss the best ways to test, refine, and share your patterns with the world, ensuring your creations are clear, accurate, and ready for crocheters of all skill levels.
Understanding Crochet Basics

Crocheting is a versatile craft that allows you to create a wide array of projects, from cozy blankets to intricate garments. To embark on your crochet journey, it’s essential to grasp the fundamental stitches and tools that form the foundation of this craft. This section will guide you through the basics, empowering you to confidently create your own crochet masterpieces.
Fundamental Crochet Stitches
The basic crochet stitches are the building blocks of any crochet project. Mastering these stitches will enable you to create a wide range of patterns and textures.
- Single Crochet (sc): The single crochet stitch is the simplest stitch in crochet. It creates a tight, dense fabric. To make a single crochet, insert your hook into the stitch, yarn over, and pull through the loop on the hook. Yarn over again and pull through both loops on the hook.
- Double Crochet (dc): The double crochet stitch creates a taller, looser stitch than the single crochet. To make a double crochet, yarn over, insert your hook into the stitch, yarn over, and pull through the loop on the hook. Yarn over again, pull through two loops on the hook, and then yarn over and pull through the remaining two loops on the hook.
- Half Double Crochet (hdc): The half double crochet stitch falls between the single crochet and the double crochet in height. To make a half double crochet, yarn over, insert your hook into the stitch, yarn over, and pull through the loop on the hook. Yarn over and pull through both loops on the hook.
- Treble Crochet (tr): The treble crochet stitch is the tallest of the basic stitches. To make a treble crochet, yarn over three times, insert your hook into the stitch, yarn over, and pull through the loop on the hook. Yarn over, pull through two loops on the hook, yarn over again, pull through two loops on the hook, and then yarn over and pull through the remaining two loops on the hook.
Reading Crochet Charts and Symbols, How to create crochet patterns
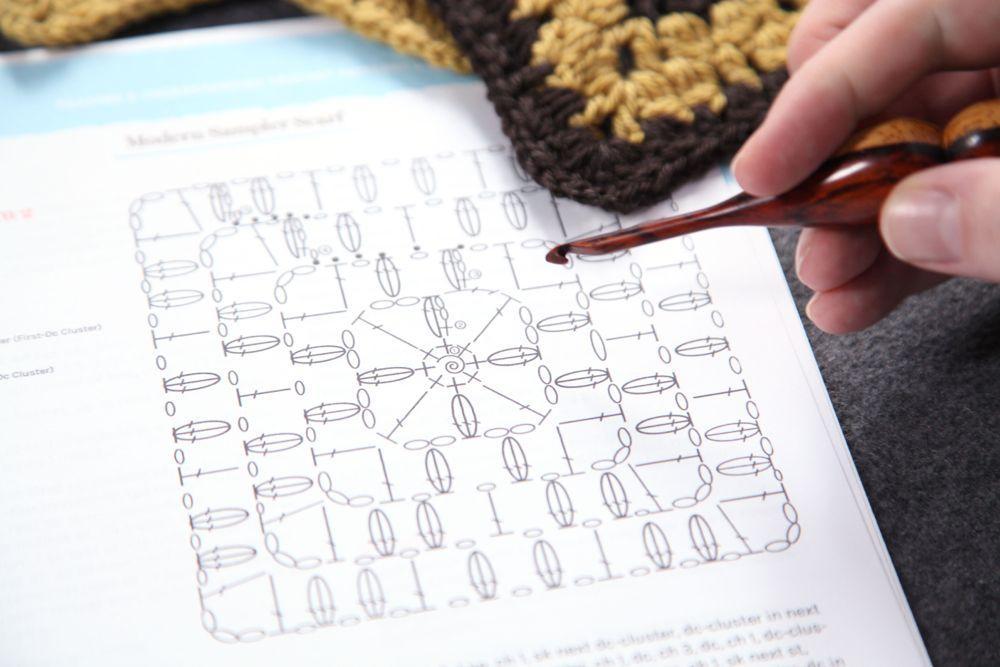
Crochet charts are visual representations of crochet patterns, using symbols to indicate different stitches and their placement. Understanding these symbols is crucial for accurately interpreting and executing crochet patterns.
- Stitch Symbols: Each stitch is represented by a unique symbol on the chart. Common symbols include a circle for a single crochet, a cross for a double crochet, and a square for a half double crochet. The chart legend will explain the specific symbols used in the pattern.
- Row and Column Structure: Crochet charts are organized in rows and columns, representing the rows and stitches of the pattern. Each square on the chart corresponds to one stitch in the pattern. The numbers along the sides of the chart indicate the row numbers, while the numbers along the top and bottom indicate the stitch numbers.
- Reading Direction: The direction in which you read the chart depends on the pattern. Some patterns are read from left to right, while others are read from right to left. The chart legend will indicate the reading direction.
Essential Crochet Tools
Crocheting requires a few essential tools to create your projects. These tools are readily available at craft stores and online retailers.
- Crochet Hooks: Crochet hooks are available in a variety of sizes, ranging from tiny hooks for delicate lacework to large hooks for bulky yarns. The size of the hook you use will depend on the yarn weight and the desired stitch gauge. The hook size is typically indicated by a number or letter.
- Yarn: Yarn is the material used to create crochet projects. It comes in a wide variety of fibers, colors, and weights. The type of yarn you choose will affect the look, feel, and durability of your project.
- Scissors: Scissors are essential for cutting yarn and trimming loose ends.
- Yarn Needle: A yarn needle is used to weave in loose ends and sew together crochet pieces.
Choosing the Right Yarn and Hook Size
Selecting the appropriate yarn and hook size is crucial for achieving the desired stitch gauge and overall look of your project.
- Yarn Weight: Yarn weight refers to the thickness of the yarn. It is typically indicated by a number, with lower numbers representing finer yarns and higher numbers representing thicker yarns. Choose a yarn weight that is appropriate for the project you are making.
- Hook Size: The hook size you use should match the yarn weight. A general rule of thumb is to use a hook size that is one or two sizes larger than the recommended hook size for the yarn you are using. You can also use a yarn gauge swatch to determine the best hook size for your yarn and desired stitch gauge.
Designing a Crochet Pattern
Designing a crochet pattern involves translating your creative vision into written instructions that others can follow. This process includes choosing a stitch pattern, calculating the number of stitches and rows needed, and incorporating color changes and shaping.
Creating a Stitch Pattern
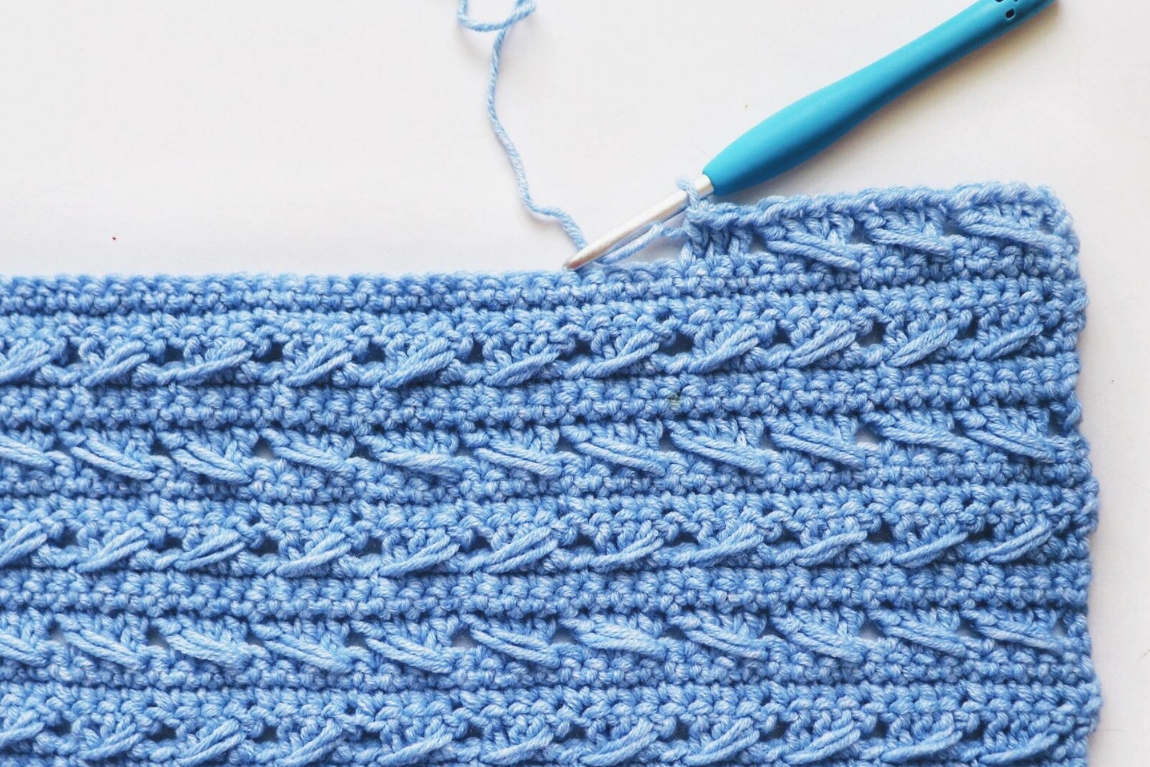
Stitch patterns are the foundation of a crochet project. They determine the look and feel of the finished piece. To create a stitch pattern, you can experiment with different stitches and their combinations.
- Basic stitches: Start with basic stitches like single crochet (sc), double crochet (dc), and half double crochet (hdc). Experiment with their variations, such as front post double crochet (fpdc) and back post double crochet (bpdc), to create texture and interest.
- Stitch combinations: Explore combinations of basic stitches to create unique patterns. For example, you could alternate rows of sc and dc, or create a repeating sequence of hdc, dc, and sc.
- Stitch repeats: Once you have a stitch pattern you like, determine the number of stitches needed to complete one repeat. This will help you calculate the number of stitches for your project.
Calculating Stitches and Rows
Calculating the number of stitches and rows is crucial for creating a well-proportioned project. This involves considering the desired size and the stitch pattern’s characteristics.
- Gauge: Gauge refers to the number of stitches and rows per inch or centimeter. It is essential for achieving the desired size and ensuring consistency in your work.
- Sample swatch: Before starting your project, create a small sample swatch using your chosen stitch pattern and yarn. This will help you determine your gauge and make necessary adjustments to your calculations.
- Stitch and row calculations: Once you know your gauge, you can calculate the number of stitches and rows needed for your project. For example, if your gauge is 12 stitches and 10 rows per 4 inches, and you want a scarf that is 6 inches wide and 30 inches long, you will need 18 stitches (12 stitches/4 inches x 6 inches) and 75 rows (10 rows/4 inches x 30 inches).
Using a Stitch Pattern Repeat
A stitch pattern repeat is a sequence of stitches that is repeated throughout a project. This allows you to create larger projects while maintaining a consistent pattern.
- Repeating the pattern: To use a stitch pattern repeat, you need to determine the number of stitches required for one repeat. This information will be included in your pattern instructions.
- Calculating multiples: When calculating the number of stitches for your project, make sure it is a multiple of the stitch pattern repeat. For example, if your repeat is 12 stitches, you will need a total number of stitches that is divisible by 12.
- Adjusting for borders: If your project requires borders, you may need to adjust the number of stitches to accommodate the border stitches. This will be explained in your pattern instructions.
Incorporating Color Changes and Shaping
Color changes and shaping add dimension and interest to crochet projects.
- Color changes: To incorporate color changes, you can simply switch to a different color yarn at the desired point. You can also use colorwork techniques, such as intarsia or fair isle, to create intricate patterns.
- Shaping: Shaping involves increasing or decreasing stitches to create curves, points, or other desired forms. Common shaping techniques include increasing at the beginning or end of a row, decreasing at the beginning or end of a row, and working in rounds to create circular shapes.
Writing a Crochet Pattern

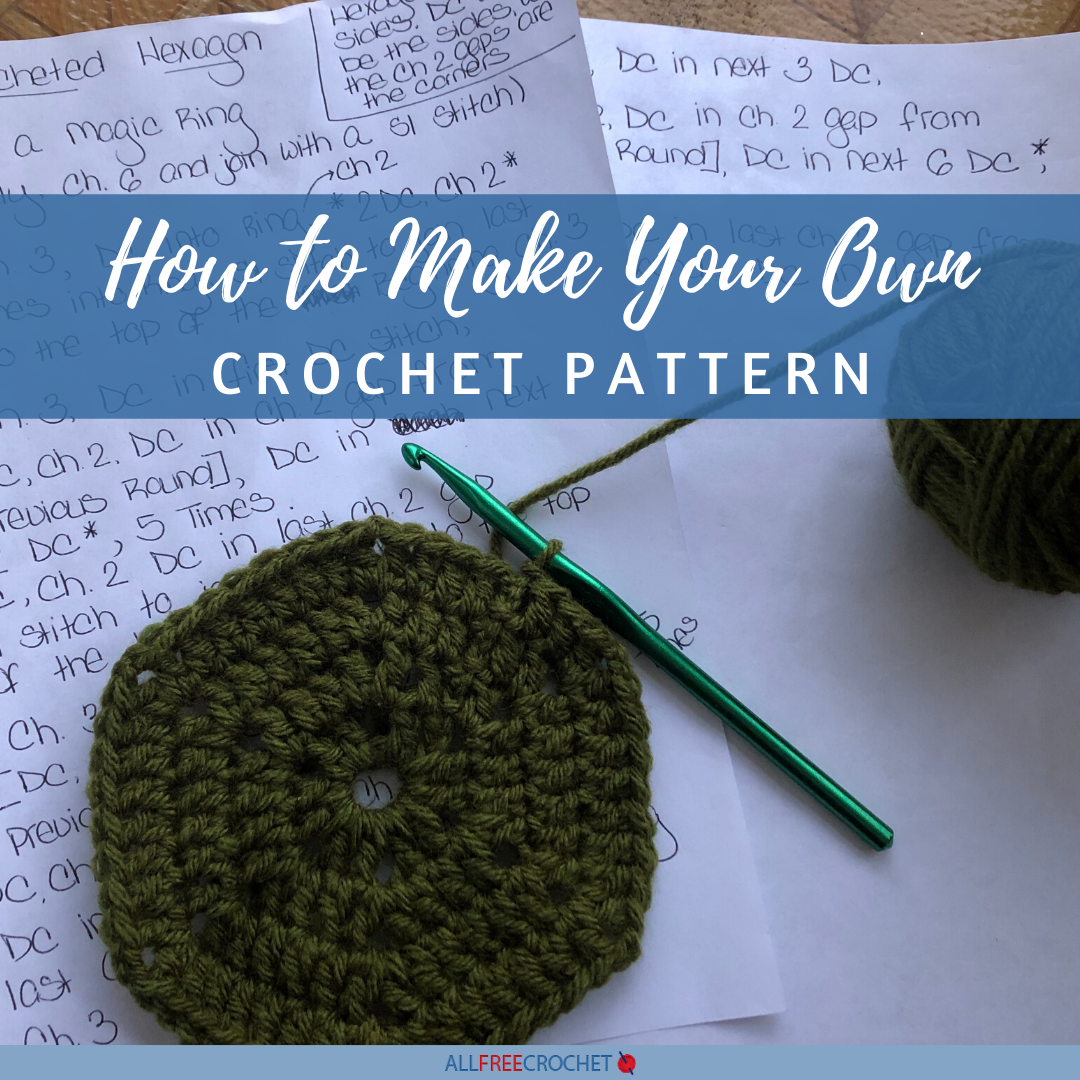
Writing a crochet pattern involves translating your design into a set of instructions that others can follow to recreate your project. It’s a process that requires clarity, organization, and attention to detail.
Creating a Beginner-Friendly Crochet Pattern
This section will demonstrate the creation of a straightforward crochet pattern for a beginner-friendly project.
Materials
The materials section lists the necessary supplies for the project. * Yarn: Specify the type, weight, and color of yarn. For example: “100 grams of worsted weight yarn in a light blue color.”
Crochet Hook
Indicate the size of the hook recommended for the yarn chosen. For example: “Size H/8 (5.0 mm) crochet hook.”
Scissors
For cutting the yarn.
Tapestry Needle
For weaving in ends.
Gauge
Gauge refers to the number of stitches and rows per a specific measurement. It’s crucial for ensuring the finished project matches the intended size.* Gauge: Provide the gauge information in stitches and rows per a specific measurement. For example: “10 stitches and 14 rows = 4 inches in single crochet.”
How to Measure Gauge
Explain how to measure gauge using a stitch marker and a ruler.
Abbreviations
Abbreviations are shorthand for common crochet stitches.* Abbreviations: List the abbreviations used in the pattern, with their corresponding full names.
Example
ch
chain
sc
single crochet
dc
double crochet
sl st
slip stitch
rep
repeat
Stitches
This section describes the stitches used in the pattern.* Chain (ch): Form a loop on the hook, pull yarn through the loop.
Single Crochet (sc)
Insert hook into stitch, yarn over, pull yarn through stitch, yarn over, pull yarn through both loops on hook.
Double Crochet (dc)
Yarn over, insert hook into stitch, yarn over, pull yarn through stitch, yarn over, pull yarn through two loops on hook, yarn over, pull yarn through remaining two loops on hook.
Slip Stitch (sl st)
Insert hook into stitch, yarn over, pull yarn through stitch and loop on hook.
Pattern Instructions
This section contains the step-by-step instructions for creating the project. Example:Crochet a Simple ScarfFoundation Chain: ch 30 (or a multiple of 4 + 2) Row 1: sc in 2nd ch from hook, sc in each ch across, turn (29 sc) Row 2: ch 1, turn, sc in first sc, sc in each sc across, turn (29 sc) Rows 3-10: Rep Row 2 Finishing: Fasten off, weave in ends.
Table Format:| Row | Instructions ||—|—|| Foundation Chain | ch 30 (or a multiple of 4 + 2) || Row 1 | sc in 2nd ch from hook, sc in each ch across, turn (29 sc) || Row 2 | ch 1, turn, sc in first sc, sc in each sc across, turn (29 sc) || Rows 3-10 | Rep Row 2 || Finishing | Fasten off, weave in ends.
|
Testing and Refining a Crochet Pattern: How To Create Crochet Patterns

Before publishing your crochet pattern, it is essential to test it thoroughly to ensure accuracy, clarity, and ease of execution. This step helps identify any potential errors, ambiguities, or inconsistencies in the instructions, ultimately leading to a more polished and enjoyable experience for your readers.
Importance of Clear and Concise Instructions for Pattern Testers
Clear and concise instructions are crucial for effective pattern testing. They ensure that testers understand the pattern accurately, allowing them to provide valuable feedback on its clarity, accuracy, and feasibility.
- Use precise language and avoid jargon. Employ specific terminology that is commonly understood within the crochet community. For example, instead of saying “work into the next stitch,” specify “single crochet into the next stitch.” This ensures clarity and consistency throughout the pattern.
- Include detailed stitch counts and row/round information. This helps testers track their progress and identify any potential errors. Provide stitch counts at the end of each row/round, ensuring accuracy and clarity.
- Use clear and consistent formatting. Employ consistent formatting throughout the pattern, including font size, spacing, and bullet points, to enhance readability. This helps testers easily navigate the instructions and understand the intended structure.
- Provide detailed diagrams and charts. Visual aids like diagrams and charts can be incredibly helpful for testers, especially for complex stitch patterns or shaping techniques. They offer a visual representation of the instructions, minimizing confusion and aiding in accurate execution.
Types of Pattern Testers and Their Roles
Different types of pattern testers contribute to the refinement process in various ways:
- Technical Testers: These testers focus on the accuracy of the instructions, stitch counts, and overall structure of the pattern. They ensure that the pattern works as intended and that there are no errors or inconsistencies. They also verify the accuracy of the stitch counts and row/round information provided.
- Experienced Crocheters: These testers bring their expertise and experience to the table, providing feedback on the clarity and feasibility of the instructions. They can identify potential areas for improvement in terms of wording, layout, and overall readability. They also offer insights into the suitability of the pattern for different skill levels.
- Beginner Crocheters: These testers provide invaluable feedback on the accessibility of the pattern for beginners. They can identify areas where the instructions may be confusing or difficult to follow for someone new to crochet. They also offer insights into the overall clarity and ease of understanding of the pattern.
Refining a Crochet Pattern After Testing
Once you receive feedback from your testers, it’s time to refine your pattern. This process involves addressing any issues raised and making necessary adjustments to ensure accuracy, clarity, and overall quality.
- Review and address all feedback. Carefully review the feedback provided by your testers, paying attention to any recurring issues or concerns. Address each point individually, making necessary adjustments to the pattern to ensure clarity and accuracy.
- Re-test the revised pattern. After making the necessary changes, it’s essential to re-test the pattern with a fresh set of eyes. This helps ensure that the revisions have addressed the identified issues and that the pattern is now error-free and easy to follow.
- Create a final, polished version. Once you are confident in the accuracy and clarity of your pattern, create a final, polished version for publication. This includes proofreading the instructions carefully, ensuring consistent formatting, and adding any additional information or resources that may be helpful for crocheters.
Creating crochet patterns is a rewarding endeavor that combines technical knowledge with artistic flair. By following this guide, you’ll embark on a journey of discovery, transforming your passion for crochet into a skill that empowers you to design and share your own unique creations. Whether you’re a seasoned crocheter or a curious beginner, this comprehensive guide will provide you with the tools and inspiration to turn your ideas into beautiful and functional crochet projects.
FAQ Explained
What are some common mistakes to avoid when writing crochet patterns?
Some common mistakes include unclear instructions, inconsistent abbreviations, missing stitch counts, and a lack of detailed shaping instructions. It’s essential to proofread your patterns carefully and have them tested by other crocheters to catch any errors.
How do I find testers for my crochet patterns?
You can find testers through online crochet communities, social media groups, or by reaching out to fellow crocheters. It’s important to clearly communicate your expectations for testers and provide them with a detailed pattern and any necessary instructions.
What are the best platforms for publishing crochet patterns?
Popular platforms for publishing crochet patterns include Ravelry, Etsy, and your own website. Each platform has its own benefits and drawbacks, so it’s important to research and choose the one that best suits your needs and goals.


