How to print clothing patterns: A seemingly simple task, yet one that holds the potential to unlock a world of creative possibilities for fashion enthusiasts and DIYers alike. Whether you’re a seasoned seamstress or a curious beginner, mastering the art of printing clothing patterns can transform your crafting journey, empowering you to bring your unique designs to life.
From understanding the different types of patterns available to mastering the intricacies of cutting and assembling, this comprehensive guide will equip you with the knowledge and skills necessary to confidently print, cut, and sew your own garments. We’ll delve into the essential materials and tools, explore the various printing and preparation techniques, and provide expert tips on achieving a professional-looking finish.
Get ready to embark on a rewarding adventure as we unravel the secrets of printing clothing patterns.
Understanding Clothing Patterns
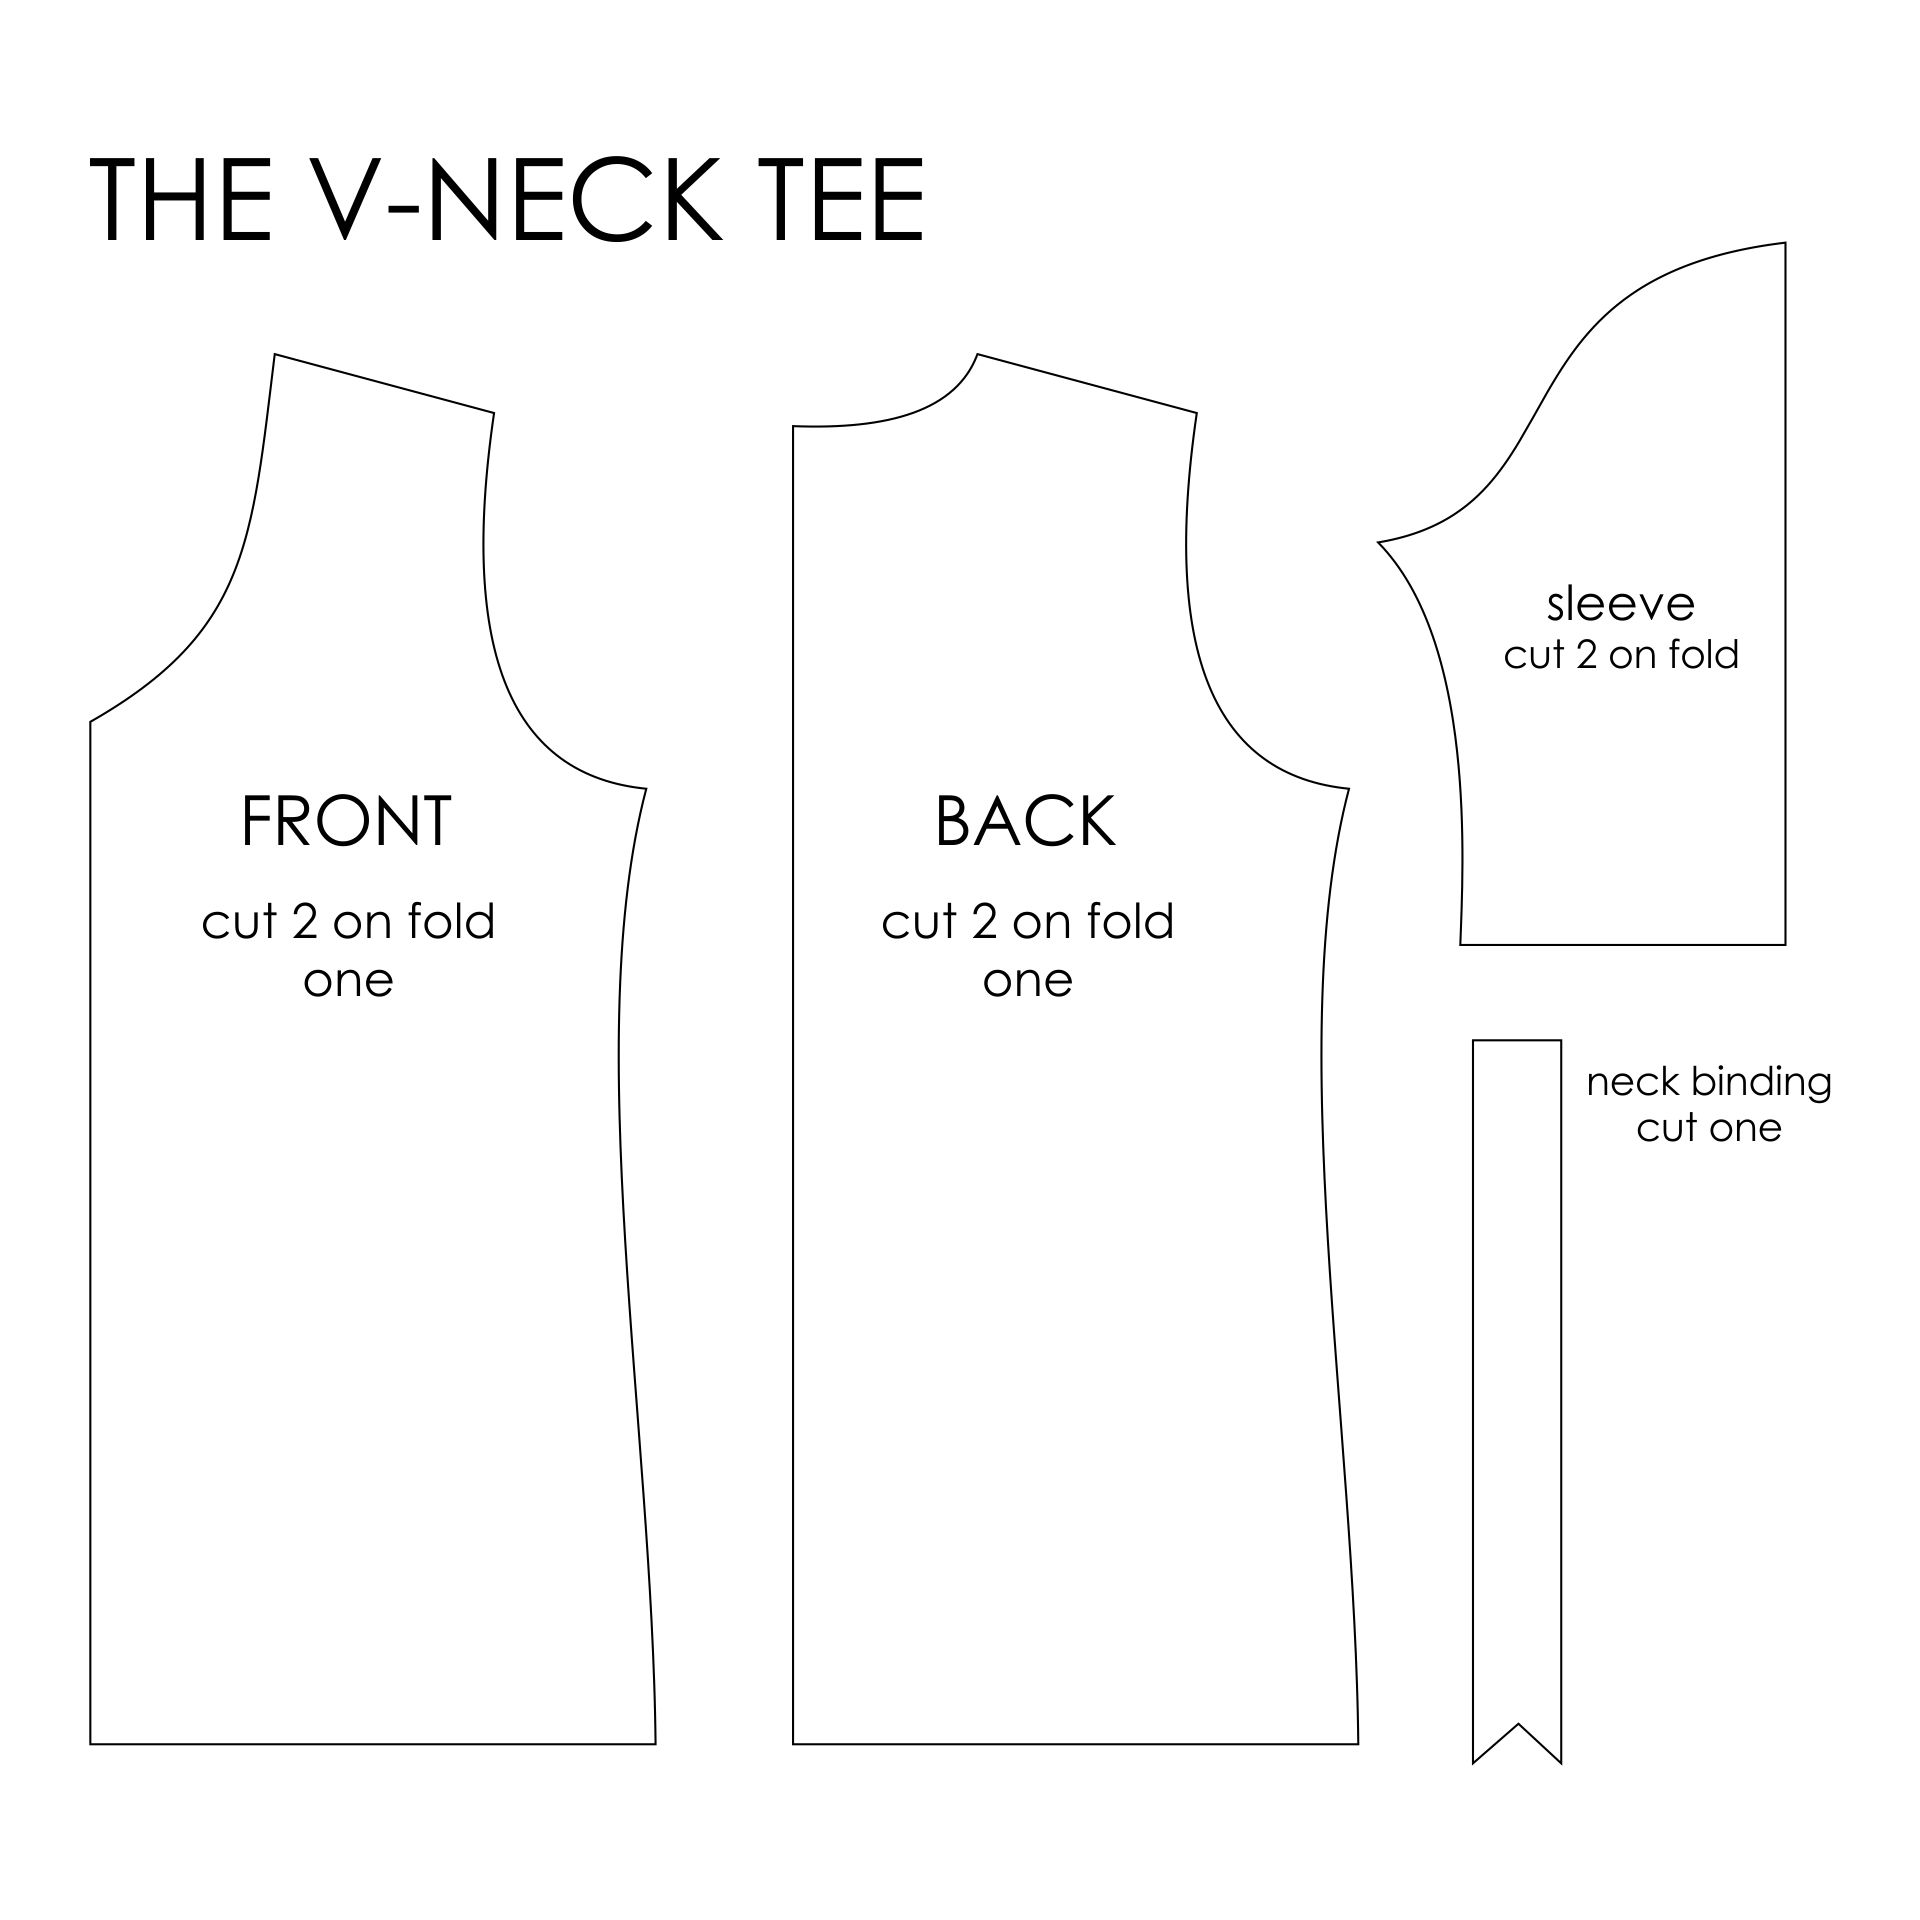
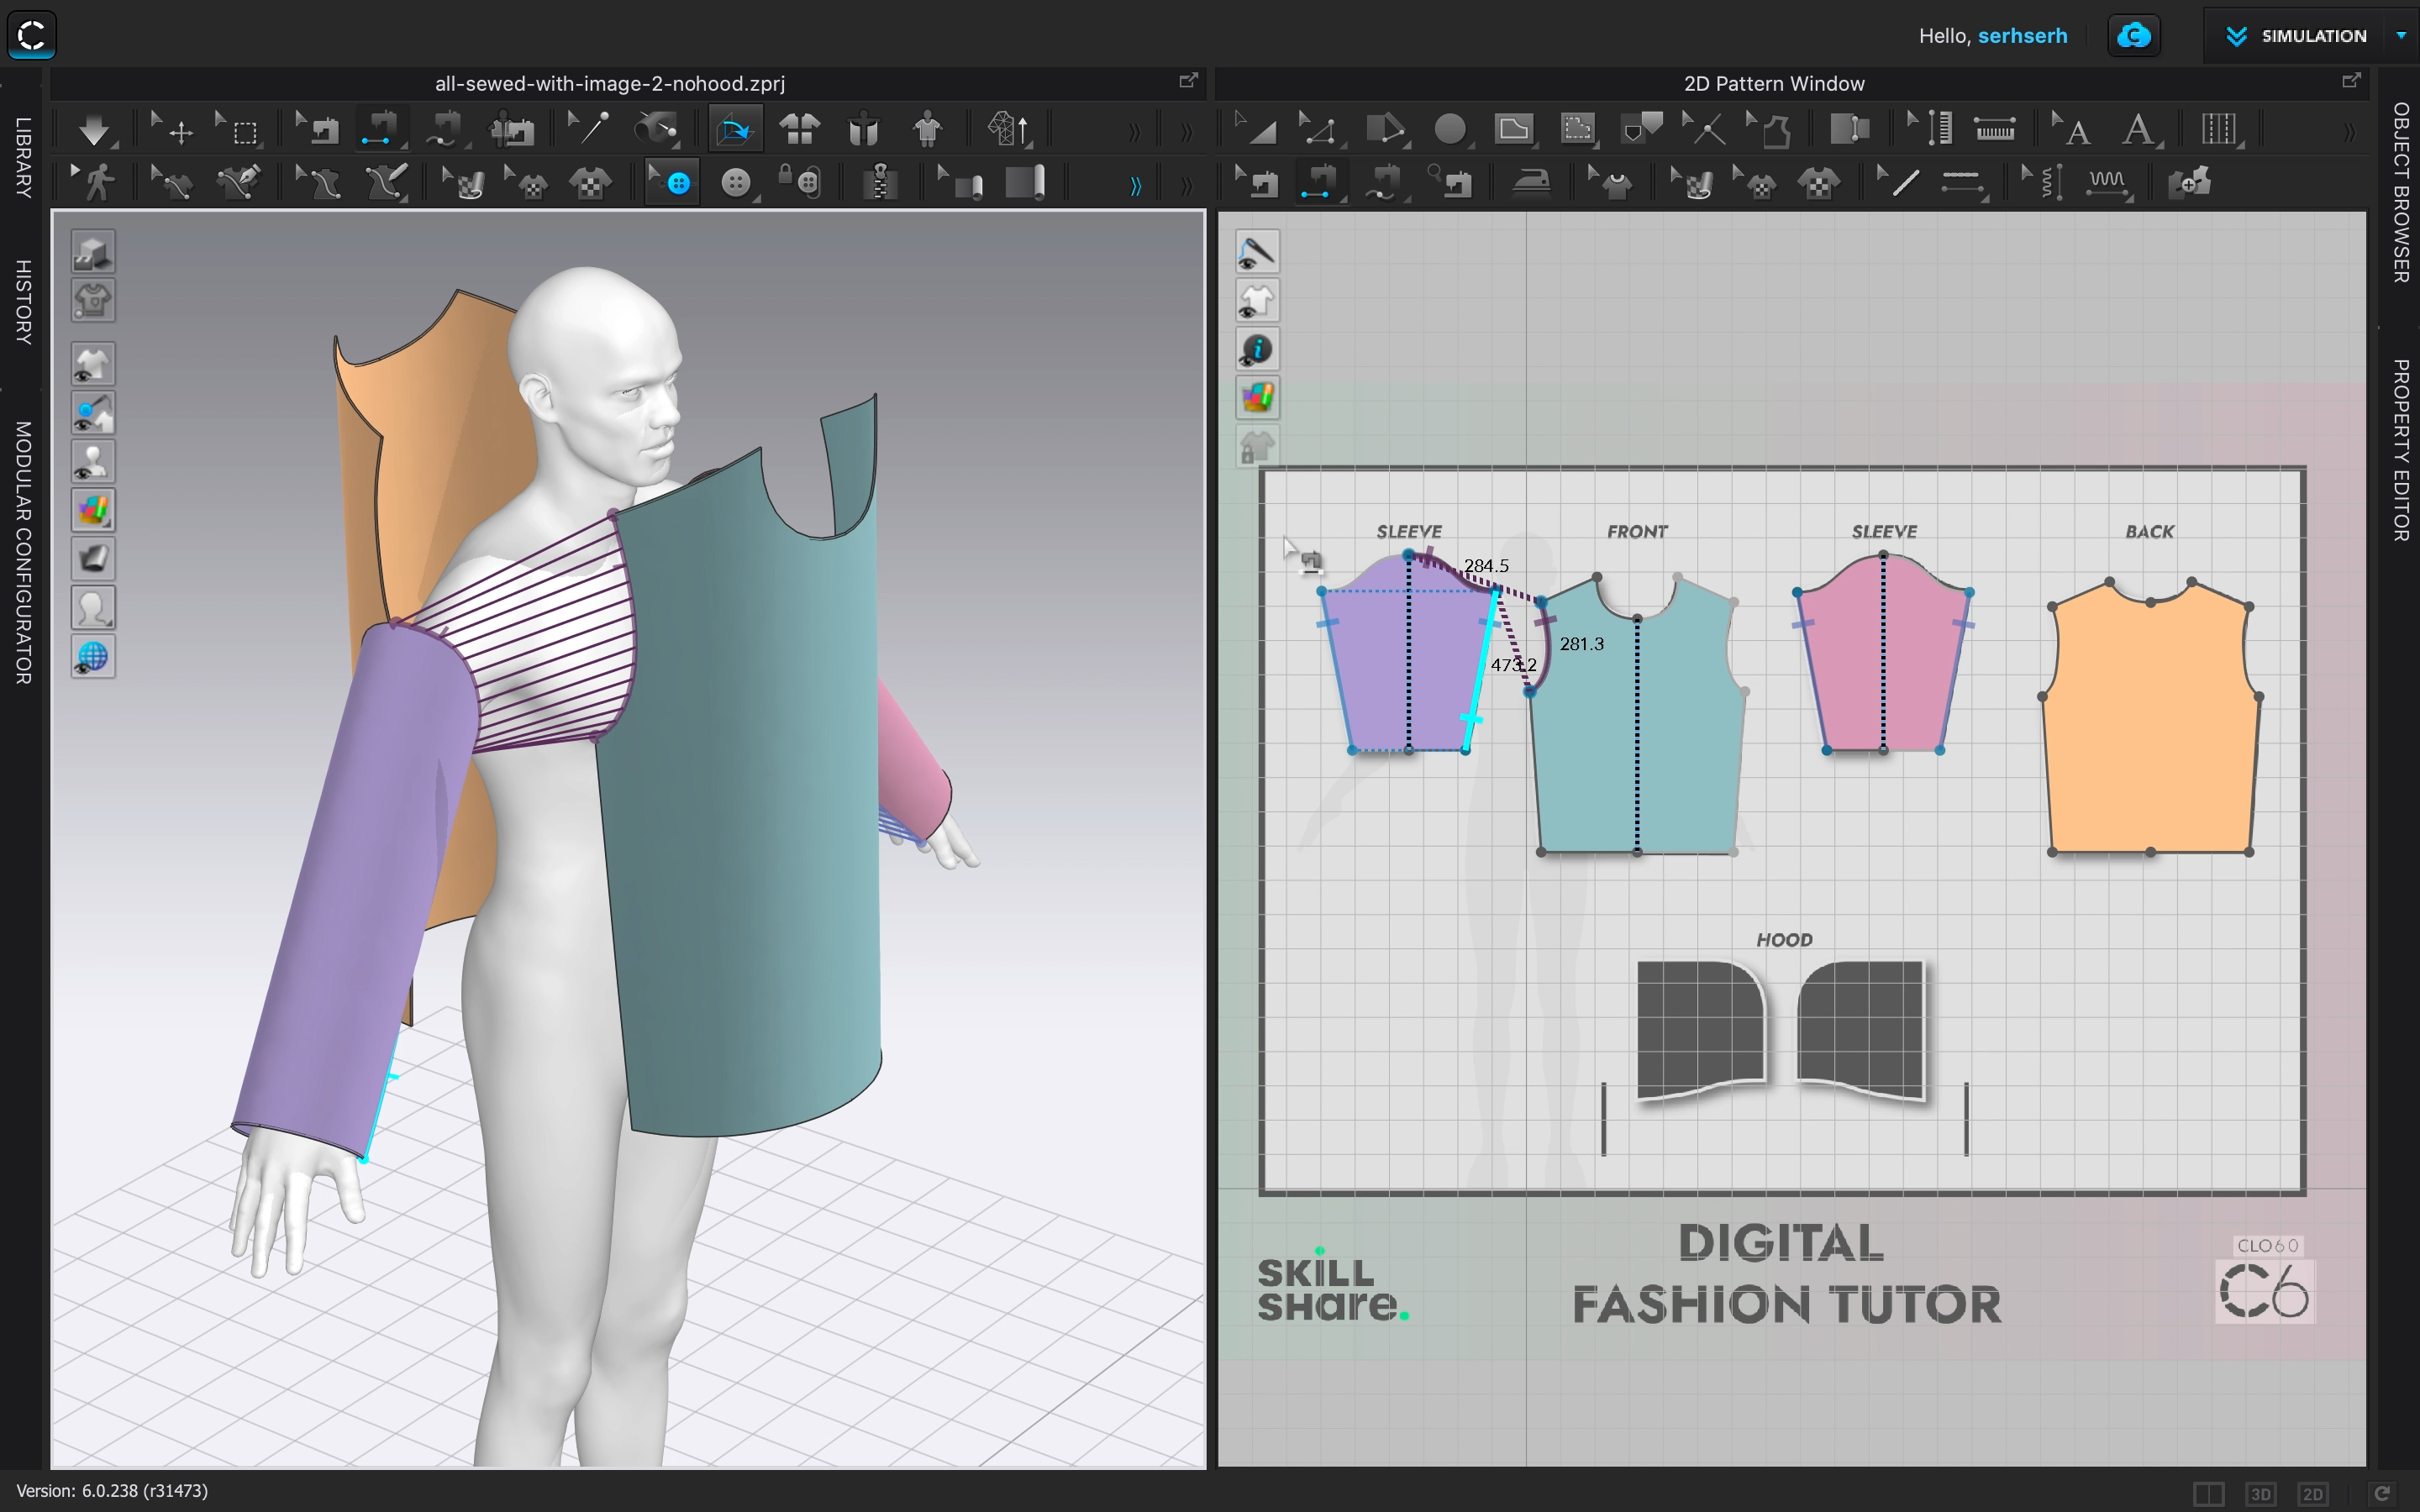
Before you can start printing your own clothing patterns, it’s essential to understand how they work. Clothing patterns are essentially blueprints for creating garments. They provide a visual guide with measurements and instructions to cut and sew fabric into a finished piece of clothing.
Types of Clothing Patterns
Clothing patterns are categorized based on the garment type they represent. These categories help you navigate the wide variety of patterns available and find the one that suits your needs. Here are some common types of clothing patterns:
- Bodice patterns: These patterns are designed for the upper part of a garment, typically covering the torso from the shoulders to the waist. They can include features like darts, seams, and neckline variations.
- Skirt patterns: These patterns focus on the lower part of a garment, covering the hips and legs. They come in various styles, from simple A-line skirts to more complex designs with pleats, gathers, or ruffles.
- Sleeve patterns: These patterns create the arms of a garment. They can be long, short, or three-quarter length, and often feature different shapes, such as bell sleeves, puff sleeves, or raglan sleeves.
- Pant patterns: These patterns cover the legs and waist, often featuring details like pockets, pleats, or zippers.
- Dress patterns: These patterns combine bodice and skirt patterns to create a complete garment. They offer a wide range of styles and designs, from casual to formal.
Choosing the Right Pattern Size and Fit
Selecting the correct pattern size is crucial for achieving a good fit. Pattern sizes are typically based on body measurements, and you’ll need to compare your measurements with the size chart provided by the pattern company.
It’s important to note that pattern sizes can vary slightly between brands.
To ensure a perfect fit, consider factors like your height, bust, waist, and hips. You can adjust the pattern by adding or subtracting inches from certain areas, depending on your individual needs.
Interpreting Pattern Markings and Symbols
Clothing patterns are filled with markings and symbols that provide essential instructions for cutting, sewing, and assembling the garment. Understanding these markings is key to successfully using a pattern.
- Cutting lines: These lines indicate where to cut the fabric. They are usually marked with a solid line or a dotted line.
- Seam allowances: These markings represent the extra fabric needed for stitching seams together. They are often marked with a dashed line or a small number.
- Grainline: This line indicates the direction of the fabric’s warp threads, which should run parallel to the grain of the fabric for optimal drape and stability.
- Darts: These markings indicate triangular folds of fabric that shape the garment and create a smooth fit. They are usually marked with a dotted line and a small arrow.
- Pleats: These markings show where to fold the fabric to create pleats, which add volume and texture to the garment.
- Symbols: Clothing patterns often use symbols to represent different sewing techniques, such as stitching, pressing, or turning. Refer to the pattern’s key or legend to understand the meaning of each symbol.
Gathering Materials and Tools
Printing clothing patterns is a crucial step in the garment-making process. It allows you to accurately transfer the design onto fabric, ensuring precise cuts and a well-fitting final product. To embark on this exciting journey, you’ll need to gather a few essential materials and tools. Before you begin, ensure you have a comfortable workspace with adequate lighting and ample room for spreading out your materials.
Paper Selection for Pattern Printing, How to print clothing patterns
Choosing the right paper is essential for printing clothing patterns. Different types of paper offer varying characteristics, influencing the pattern’s durability, printability, and ease of use. Here’s a table showcasing the suitability of various paper types for printing clothing patterns:| Paper Type | Suitability for Printing Patterns | Advantages | Disadvantages ||—|—|—|—|| Regular Printer Paper | Suitable for basic patterns | Affordable, readily available | Thin, prone to tearing, may not be suitable for complex patterns || Cardstock | Ideal for most patterns | Durable, sturdy, holds up well to handling | May require a heavier-duty printer || Pattern Paper | Best for professional patterns | Designed for pattern making, transparent, tear-resistant | Can be more expensive || Tracing Paper | Suitable for transferring patterns | Thin, translucent, allows for easy tracing | Can be fragile, not suitable for direct printing |
Essential Tools for Cutting and Sewing
Cutting and sewing are the final steps in bringing your clothing patterns to life. These tasks require specialized tools for precision and efficiency. Here’s a list of essential tools for cutting and sewing:* Scissors: Sharp scissors are crucial for precise cutting. Invest in a good pair of fabric shears for cutting fabric and a smaller pair for trimming seam allowances.
Rotary Cutter
A rotary cutter with a self-healing cutting mat offers a faster and more controlled way to cut fabric.
Sewing Machine
A reliable sewing machine is essential for stitching your garments together.
Measuring Tape
A flexible measuring tape is essential for taking body measurements and accurately measuring fabric.
Pins
Pins are used to hold fabric pieces together before sewing. Choose pins with a sharp point and a smooth head to avoid snagging the fabric.
Seam Ripper
This tool helps you remove stitches when you make a mistake or need to adjust the fit.
Iron
A hot iron is essential for pressing seams and smoothing out wrinkles in the fabric.
Ironing Board
A stable ironing board provides a flat surface for pressing your fabric.
Thread
Choose thread that matches the fabric you are using and is appropriate for the type of sewing you are doing.
Sewing Needles
Sewing needles come in various sizes and types. Select the appropriate needle size for the fabric you are using.
Fabric Marking Tools
Marking tools, such as chalk, pencils, or disappearing pens, are used to mark cutting lines and sewing guidelines on the fabric.
Safety Pins
Safety pins are useful for attaching garment pieces together temporarily.
Hand Sewing Needles
Hand sewing needles are used for finishing details, such as buttonholes and hems.
Thimbles
Thimbles protect your fingers when sewing by hand. These tools are essential for successful pattern printing, cutting, and sewing. Remember to invest in quality tools that will last and enhance your garment-making experience.
Printing and Preparing the Pattern: How To Print Clothing Patterns
Printing a clothing pattern from a digital file is a crucial step in the garment-making process. It allows you to accurately transfer the pattern pieces onto fabric and ensure the garment fits properly. Before printing, it’s essential to gather the necessary materials and tools, which were covered in the previous section.
Scaling the Pattern
Scaling the pattern to the correct size is essential to ensure the garment fits as intended. The pattern pieces are designed for specific measurements, and scaling them incorrectly can lead to a garment that is too big or too small. To scale a pattern, you need to adjust the print settings in your printer or software. Most pattern files include instructions on how to scale them.
Always double-check the scaling settings before printing.
Aligning and Securing the Pattern Pieces
Once you’ve printed the pattern pieces, you need to align and secure them before cutting. This ensures that the pieces are positioned correctly and prevents them from shifting during cutting. You can use weights, tape, or pattern weights to secure the pattern pieces to your cutting surface.
When aligning the pattern pieces, ensure the grain lines are parallel to the edge of the fabric.
Cutting and Assembling the Pattern
After printing and preparing your pattern pieces, it’s time to cut them out and get ready to sew! This step is crucial for achieving a well-fitting and professional-looking garment. Accurate cutting and assembly ensure that your project comes together smoothly and produces the desired outcome.
Cutting Pattern Pieces
Precisely cutting your pattern pieces is vital for a successful sewing project. Using sharp scissors and following the markings ensures that each piece is the correct size and shape, minimizing potential fitting issues later on.
- Use Sharp Scissors: Dull scissors can lead to uneven cuts and frayed edges, making it difficult to assemble the pattern pieces accurately. Invest in a good pair of fabric scissors specifically designed for cutting fabric.
- Cut on a Flat Surface: A flat, stable surface is essential for accurate cutting. A cutting mat or a large table provides a consistent and protected workspace.
- Follow the Pattern Lines: Carefully cut along the pattern lines, ensuring that your scissors are perpendicular to the fabric. Avoid cutting through any markings or symbols on the pattern.
- Cut with Precision: Take your time and cut with precision, especially when cutting curved or intricate shapes. Avoid rushing or pulling the fabric, as this can distort the pattern piece.
Marking Pattern Pieces
Marking pattern pieces with the correct measurements and symbols is crucial for accurate assembly. These markings guide you during the sewing process, ensuring that all seams and details are placed correctly.
- Use a Tailor’s Chalk or Marking Pen: Choose a marking tool that is suitable for your fabric type and that will be easily visible but can be removed later.
- Transfer Markings Accurately: Carefully transfer all markings from the pattern to the fabric, ensuring they are in the correct position. Use a ruler or measuring tape for accuracy.
- Mark Seam Allowances: Ensure that you mark the seam allowances on each pattern piece. These allowances are added to the pattern pieces to account for the seam width during construction.
- Mark Important Details: Transfer any other important markings, such as darts, pleats, or buttonholes, to the fabric pieces.
Assembling Pattern Pieces
Assembling the pattern pieces involves sewing them together in a specific order, following the instructions provided in the sewing pattern. This step requires careful attention to detail and a good understanding of basic sewing techniques.
- Follow the Sewing Instructions: Carefully read and understand the sewing instructions provided with your pattern. They Artikel the order of assembly and any special techniques required.
- Pin Pattern Pieces Together: Before sewing, pin the pattern pieces together along the seam lines. Ensure that the right sides of the fabric are facing each other.
- Sew Seams: Use a sewing machine or hand-sew the seams according to the pattern instructions. Pay attention to the stitch length and tension recommended for your fabric.
- Press Seams: After sewing, press the seams open or to one side, as instructed by the pattern. Pressing helps to create a smooth and professional finish.
- Finish Seams: Depending on the fabric and garment type, you may need to finish the raw edges of the seams to prevent fraying and enhance durability.
Transferring the Pattern to Fabric

You’ve got your printed pattern pieces, and now it’s time to get them onto your fabric. This is the step where you’ll bring your garment to life, so it’s important to do it right. Transferring the pattern markings accurately will ensure that your finished garment fits well and looks great. There are several methods for transferring pattern markings to fabric, each with its own advantages and disadvantages.
Let’s explore them.
Different Methods for Pattern Transfer
The choice of transfer method depends on the fabric type, the complexity of the pattern, and your personal preference. Here’s a breakdown of popular methods:
- Tracing: This method involves using a tracing wheel and tracing paper to transfer pattern markings onto the fabric. It’s a classic method that works well for most fabrics.
- Advantages: Precise and durable, suitable for all fabric types, works well for intricate designs.
- Disadvantages: Can be time-consuming, requires specialized tools, may leave visible marks on delicate fabrics.
- Pinning: This method involves pinning the pattern pieces to the fabric and using a sharp pencil or fabric marker to trace the markings. It’s a quick and easy method, but it’s not as precise as tracing.
- Advantages: Quick and easy, requires minimal tools, good for simple patterns.
- Disadvantages: Less precise than tracing, can be difficult for intricate designs, pins can leave holes in delicate fabrics.
- Tailor’s Chalk: This method involves using tailor’s chalk to mark the fabric directly. It’s a versatile method that works well for most fabrics, but it’s not as durable as tracing.
- Advantages: Versatile, easy to use, washable for most fabrics.
- Disadvantages: Less durable than tracing, can be messy, not suitable for all fabrics.
- Fabric Marker: This method involves using a fabric marker to mark the fabric directly. It’s a convenient method, but it’s not as precise as tracing and the markings may not be as durable.
- Advantages: Convenient, easy to use, suitable for most fabrics.
- Disadvantages: Less precise than tracing, markings may fade or bleed, not suitable for all fabrics.
- Transfer Paper: This method involves using a special transfer paper to transfer pattern markings onto the fabric. It’s a precise and durable method, but it can be expensive.
- Advantages: Precise and durable, suitable for all fabrics, works well for intricate designs.
- Disadvantages: Can be expensive, requires specialized paper, may not be suitable for all fabrics.
Tips for Accurate and Durable Pattern Transfer
- Use a sharp pencil or fabric marker. This will ensure that your markings are clear and precise.
- Work on a flat, stable surface. This will help you to avoid shifting or distorting your pattern pieces.
- Use a light touch when tracing or marking. This will help to prevent your fabric from being damaged.
- Double-check your markings. Make sure that you have transferred all of the necessary markings before you begin cutting.
- Use a ruler or measuring tape to ensure that your markings are accurate. This is especially important for garment pieces that need to be symmetrical.
With a newfound understanding of how to print clothing patterns, you’re now equipped to embark on a thrilling journey of fashion creation. From choosing the perfect pattern to mastering the art of cutting and sewing, each step in the process is a chance to express your unique style and bring your design visions to life. Remember, the key to success lies in meticulous attention to detail, patience, and a touch of creative flair.
So, gather your materials, unleash your inner designer, and enjoy the rewarding experience of crafting garments that are as individual as you are.
Key Questions Answered
What type of printer is best for printing clothing patterns?
A laser printer is generally recommended for printing clothing patterns due to its ability to produce sharp lines and precise details. However, inkjet printers can also be used, especially for smaller patterns. It’s important to ensure that the printer you choose has a high enough resolution for clear pattern markings.
What kind of paper should I use for printing clothing patterns?
The best paper for printing clothing patterns is a sturdy, heavyweight paper, such as cardstock or drafting paper. These papers are less likely to tear or wrinkle during cutting and handling. Avoid using thin paper, as it can easily become damaged.
How do I know if I’m using the correct pattern size?
Most clothing patterns come with a sizing chart. Measure your body according to the chart’s instructions and choose the size that best corresponds to your measurements. Remember that patterns may vary in size, so it’s always a good idea to check the pattern’s instructions for specific sizing information.


